Configure SAML with Microsoft Entra ID
This page explains how to integrate Microsoft Entra ID (Azure AD) as a SAML Identity Provider to authenticate your users on Reemo.
Note
Configure SSO in Reemo
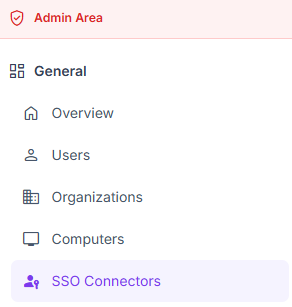
Access SSO Connectors in the instance Admin Area.
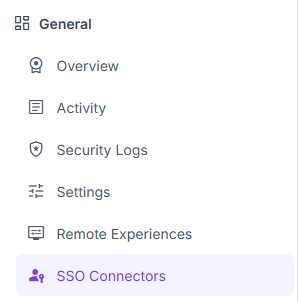
Configure SSO in Organization > SSO Connectors.
Create the SAML Connector in Reemo
From verified_user Admin Area > domain Organizations, select your organization, then go to dashboard General > passkey SSO Connectors and click New Connector > New SAML Connector.
Fill in the basic fields:
Friendly Name: name displayed to your users (e.g., EntraID).
Issuer / App URI ID:
reemo.Entry Point: will be completed after configuring Entra ID.
IdP Logout URL and Logout protocol (optional): see the Configure Logout at the Identity Provider section below.
Federation XML: will be completed after configuring Entra ID.
Attributes Mapping: attribute names Reemo expects in the SAML assertion (
email,username,fullnameby default).
3) Click Create to generate the connector’s Callback URL. You will need this in EntraID (Single sign-on URL).
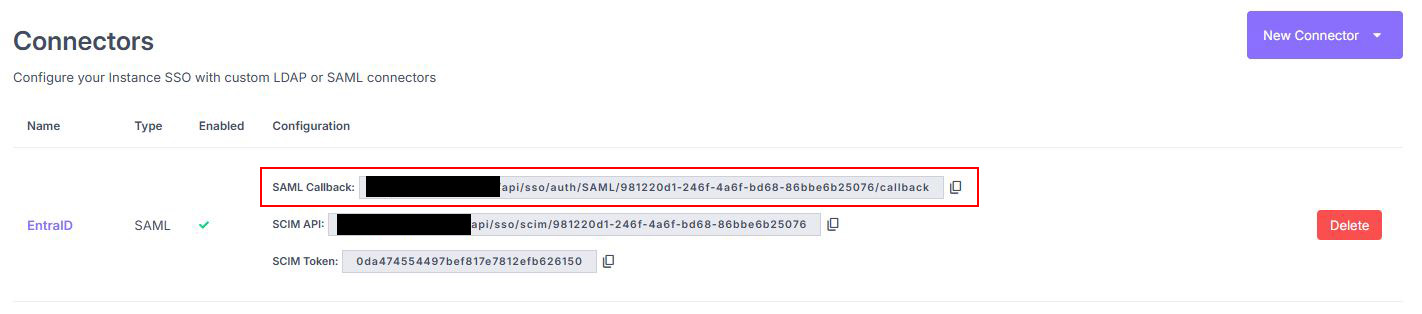
Copy the Callback URL generated by the SAML connector.
Configure the SAML Application in Entra ID
Log in to the EntraID portal: https://portal.azure.com
Create a new application: Microsoft Entra ID > Manage > Enterprise applications > New application.
- Click Create your own application.
Give it a name (e.g., Reemo).
Choose Integrate any other application you don’t find in the gallery (Non-gallery).
Click Create.
Open the application and go to Single sign-on > select SAML.
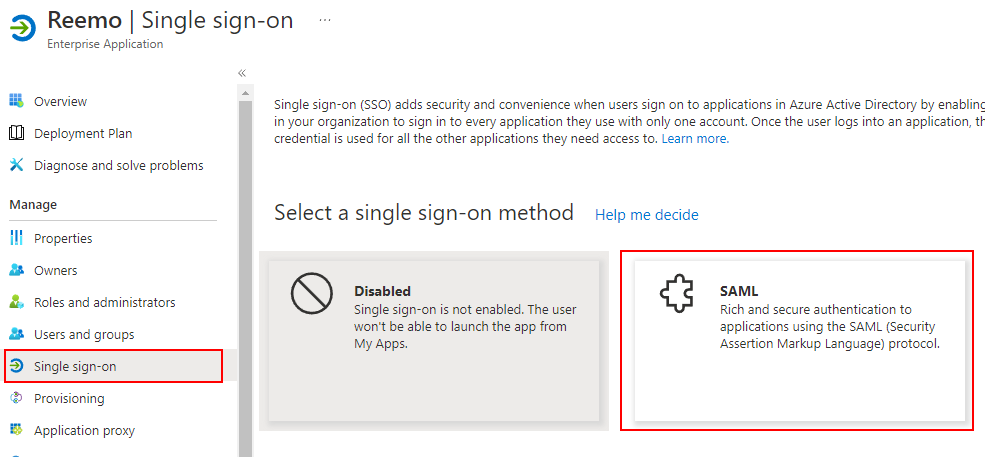
Choose SAML as the Single Sign-On method.
In the Set up [app name] section:
Copy the Login URL and paste it into Entry Point in Reemo.
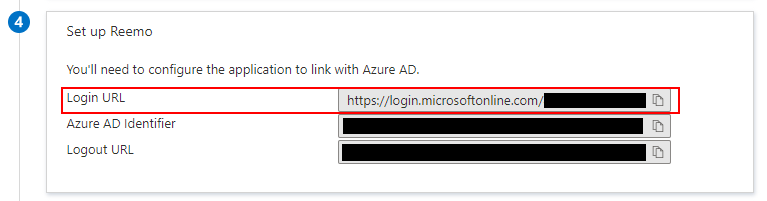
Copy the Login URL into the Entry Point field.
In the SAML Certificates section:
Copy the federationmetadata.xml URL from the App Federation Metadata URL.
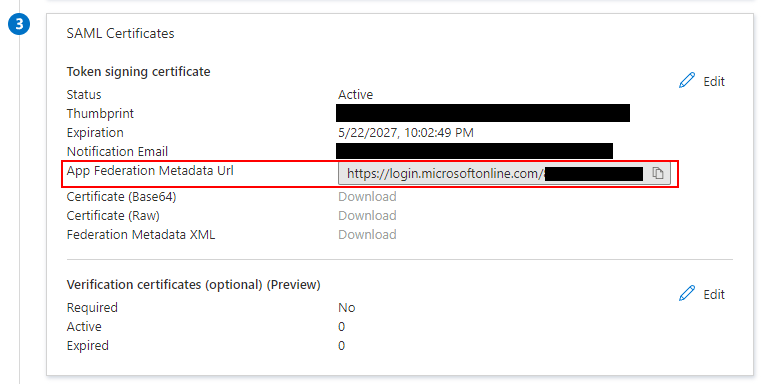
Copy the federationmetadata.xml URL.
Paste it into the Federation XML URL field of the Reemo connector.
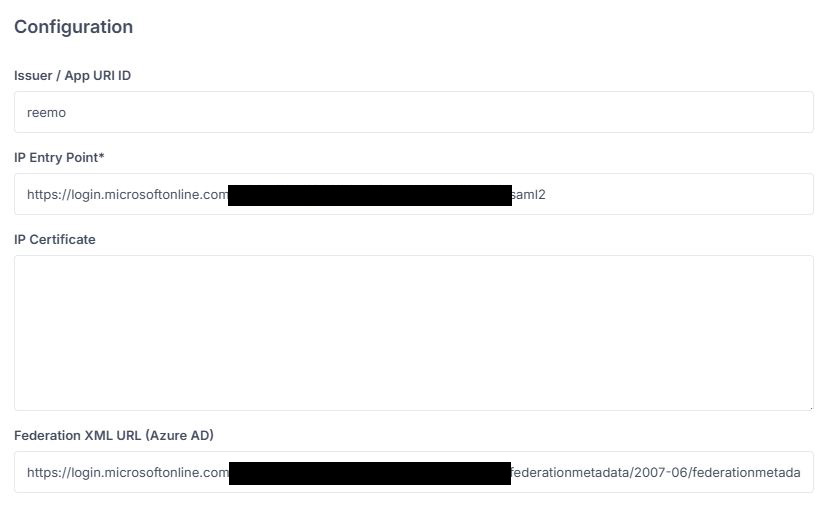
Fill the fields left to be filled previously
Configure Attributes (Attribute Statements)
Map the attributes so that Reemo receives the correct information from Entra ID:
Username →
nameEmail →
emailaddressFull Name →
displayname
Configure the Identifier and Reply URL
To finish the configuration, Entra requires setting up the Identifier and Reply URL (Assertion Consumer Service URL):
In the Basic SAML Configuration section, click Edit.
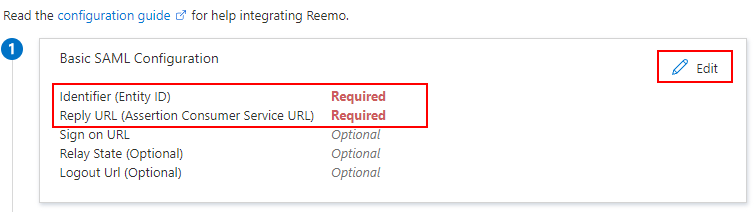
Click Edit to modify the Basic SAML configuration.
Add an Identifier: use the value defined in Reemo (
reemo).Add a Reply URL: use the Callback URL generated by the connector in Reemo.
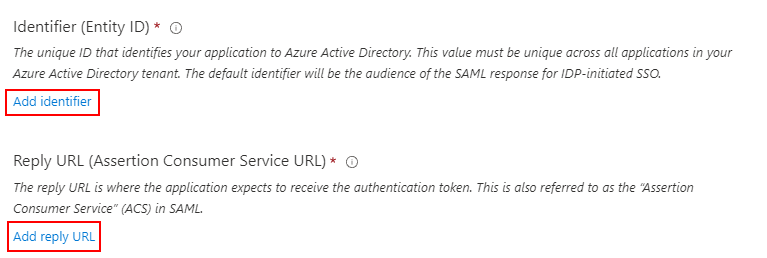
Add an Identifier and a Reply URL with the values from Reemo.
Click Save, then use the Test button to verify the configuration.
Note
The connector’s Callback URL is visible in the connector list, under the Configuration column.
Declare users
There are two approaches to grant SSO access to users.
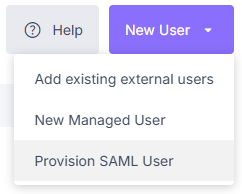
Select Provision SAML User from the New User menu.
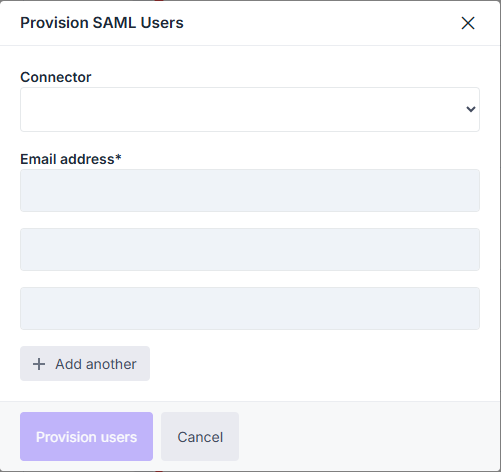
Add users by email through the provisioning popup.
In the Entra portal, open the Reemo application.
Go to Provisioning > Get Started.
Set Provisioning Mode to Automatic.
- Fill in:
Tenant URL: SCIM API value provided by Reemo (in the connector list).
Secret Token: SCIM Token value provided by Reemo.
Click Test Connection, then Save.
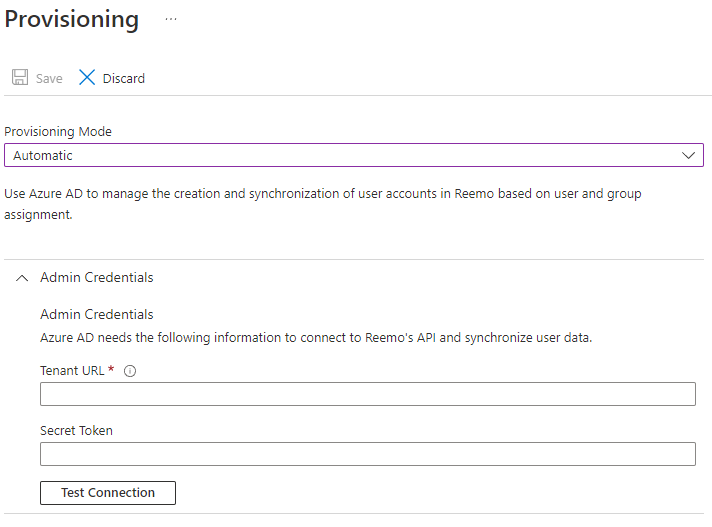
Automate user provisioning with SCIM.
You should now be able to provision users from Microsoft Entra ID using the provisioning interface.
Configure Logout at the Identity Provider
The SAML connector exposes two additional fields to automatically log the user out of their identity provider (IdP) when they log out of Reemo: an IdP Logout URL and a Logout protocol.
Redirect to the URL above (default): the browser is simply redirected to the configured URL. Works with any provider exposing a logout endpoint that responds to a plain
GETrequest, with no extra configuration on its side.SAML single logout (signed LogoutRequest): Reemo signs an actual
LogoutRequestbuilt from the session subject, and handles both theLogoutResponsereturned by the provider and anyLogoutRequestit initiates on its own. This is the only mode that works with a provider whose logout endpoint is the same as its login endpoint (e.g. Microsoft Entra ID, Keycloak): that endpoint expects a signed SAML request, not a plainGET.
Note
Both fields are optional and backward-compatible: the protocol defaults to Redirect to the URL above, so existing connectors keep their current behavior. The login strategy is never affected, and a logout failure on the provider’s side never blocks the user’s logout from Reemo.
SAML single logout requires a service provider key to exist for this connector: without it, the connector automatically falls back to Redirect to the URL above. Reemo generates this key pair per connector — the private key never leaves the server — and the corresponding certificate, to declare on the provider’s side, is displayed in the SSO connector list.
Warning
SAML single logout requires two declarations on the identity provider’s side: a logout callback URL pointing to Reemo (its format depends on the provider — see the corresponding guide) and the connector’s signing certificate, displayed in the SSO connector list. Without both, the provider rejects the LogoutRequest signed by Reemo.
Warning
In SAML single logout mode, set the IdP Logout URL based on your provider:
Leave it empty if your provider serves logout on its login endpoint (e.g. Microsoft Entra ID, Keycloak). Reemo then reuses the Entry Point already configured.
Fill it in if your provider exposes a separate logout endpoint (e.g. Okta).
Warning
Logging out on the identity provider’s side closes the browser session for the whole provider, not just Reemo. A user with other tabs open on the same provider (e.g. other Microsoft services) is logged out of those too.
Warning
In Entra ID, the URL shown as Logout URL on the application’s Single sign-on page (the Set up [app name] section) is the tenant’s SAML2 endpoint — the same one used for login. In Redirect to the URL above mode, this URL does not work: the endpoint expects a signed LogoutRequest, not a plain GET. Use a URL that responds to a GET instead, of the form https://login.microsoftonline.com/{tenant}/oauth2/v2.0/logout.
In SAML single logout mode, the URL shown by Entra ID is the right one, and the IdP Logout URL can stay empty on the Reemo side.
Also declare the connector’s logout callback URL in the Logout URL field of the Entra ID app registration, along with the connector’s signing certificate (visible in the SSO connector list).
Log in via SAML
Once the connector is active and users are declared (or JIT is enabled), your users can log in:
General access to your portal (Private Cloud / On-Prem):
https://[portal_url]/
Direct access to the organization (Public Cloud):
https://[portal_url]/login/[organization_shortname]
On the login screen, select the SSO tab, then click Login to be redirected to the identity provider.
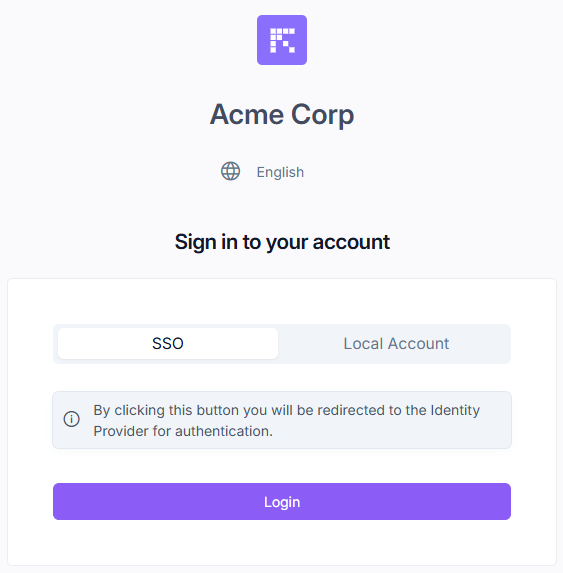
Select the SSO tab, then click Login.