Resources Dashboard
The Resources dashboard is your primary workspace for managing and connecting to your infrastructure.
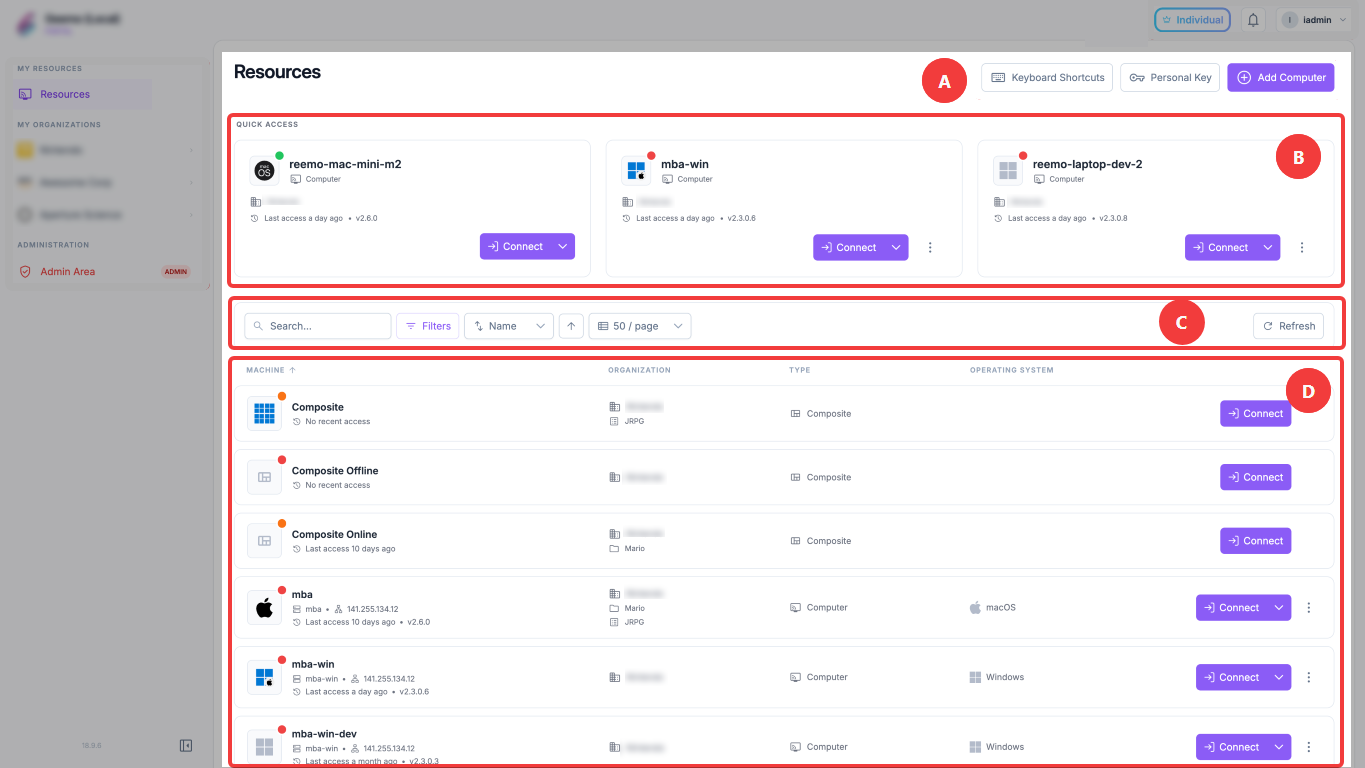
For the Sidebar and Top Navigation, see Interface Overview. This page covers the elements specific to the Resources dashboard’s central panel:
Action Header
Located at the top-right of the central panel:
Keyboard Shortcuts: Define keyboard shortcuts to connect directly to a resource — see Keyboard Shortcuts.
Personal Key: Your unique key for agent configuration.
Add Computer: Access OS installers.
Quick Access
Displays cards for connecting directly to your resources, with pinned resources always shown first — see Quick Access below.
Filter Bar
Search, filter, sort, and refresh your resource list — see Filtering and Sorting below.
Resource List
Displays your full infrastructure inventory in table form — see Resource Status Indicators below.
Keyboard Shortcuts
Click Keyboard Shortcuts in the Action Header to bind up to nine resources to a CTRL+ALT+<digit> combination (CTRL+ALT+1 through CTRL+ALT+9).
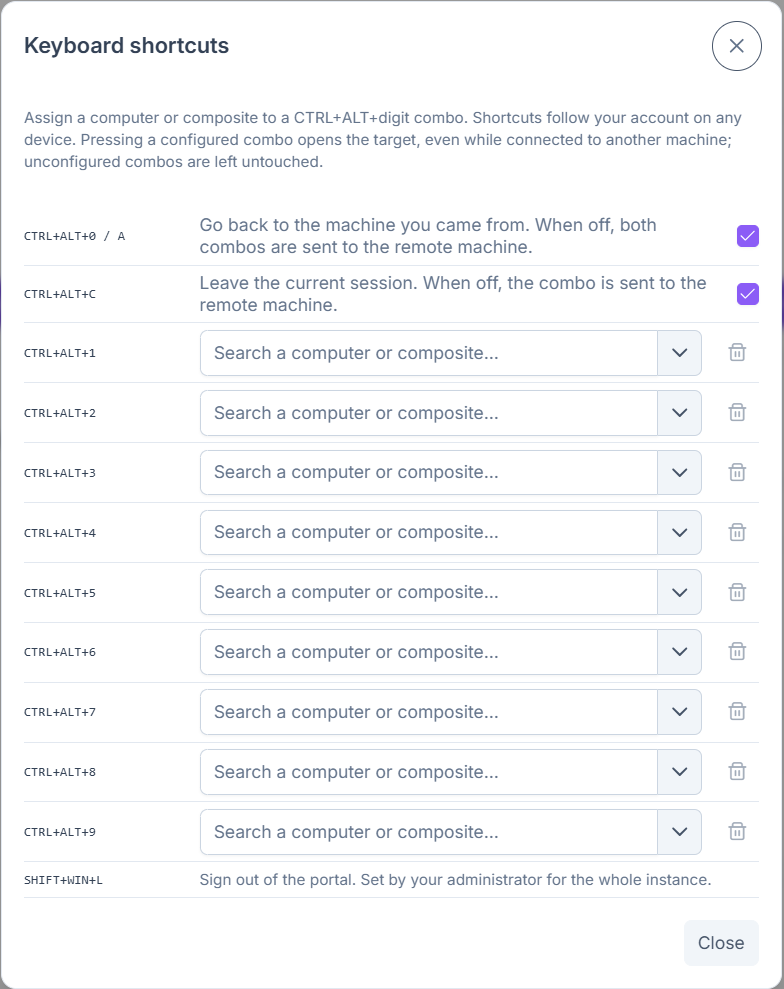
For each combination, search for a computer or a composite to assign it, or click the trash icon to remove an existing assignment — changes are saved automatically.
The checkbox above the list adds a shortcut back to the machine you were previously connected to, triggered by either CTRL+ALT+0 or CTRL+ALT+A — both do the same thing. Unchecking it routes both combinations to the remote machine instead.
A second entry, enabled by default, does the same for CTRL+ALT+C: it ends the current session outright instead of just returning to the previous machine. Uncheck it to route the combo to the remote machine instead.
If an instance administrator has configured a portal logout shortcut, a read-only entry for it also appears at the bottom of this list, without a checkbox or delete option — only the administrator can change or remove it.
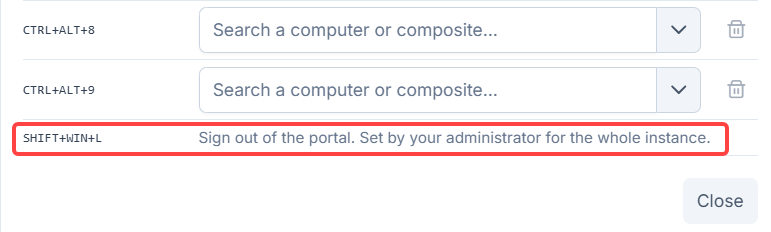
Portal logout shortcut entry, shown once configured by the instance administrator.
Note
Keyboard shortcuts are tied to your account rather than to a specific device: they follow you wherever you are logged in. Pressing a configured combination opens its target immediately, even while you are in a full session on another resource. Combinations with no assigned target are not intercepted and behave normally.
Resource Status Indicators
Each resource card or row displays two indicators next to its name and last access date:
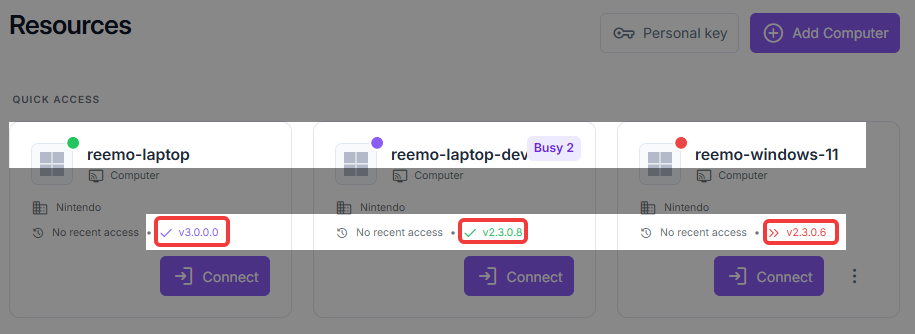
Status dot (next to the resource name):
circle Online (green dot): the resource is available.
circle Busy (violet dot): shown with a Busy N badge: N indicates the number of active sessions.
circle Offline (red dot): the resource is unavailable.
Agent version indicator (next to the last access date):
check Up to date (green check): the Reemo Agent is current.
check Pre-release (check in the interface’s primary color, Reemo violet by default, customizable per client): the Agent is running a pre-release version.
keyboard_double_arrow_right Outdated (red double chevron): an Agent update is recommended.
A Support tag next to a resource’s name indicates that support mode is enabled on this device — see Reemo Support.
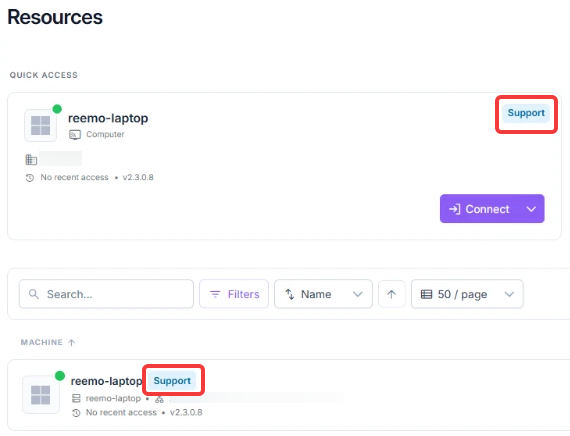
Support tag on a resource card and in the resource list.
Quick Access
The Quick Access section displays up to three cards for connecting directly to your resources: pinned resources always appear first, with any remaining slots filled by your most recently accessed resources.
Click a resource’s pin icon () to add it to quick access, or remove it if already added.
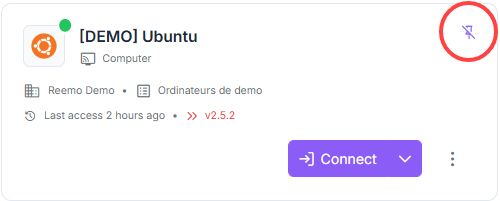
Pin icon on a Quick Access card.
This action is also available via the ⋮ menu (Pin to quick access or Remove from quick access).
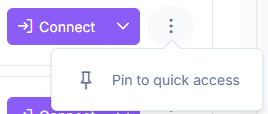
Options menu (⋮), with the Pin to quick access entry.
Starting a Session
Locate your resource in the Quick Access section or the main Resource List.
Click the resource’s icon or the Connect button to launch your session immediately.
Note
For a resource tagged Support, the session does not start immediately: the device owner must approve the connection request first — see Reemo Support.
Starting a Session in View-Only Mode
Click the dropdown arrow next to Connect and choose View to open a read-only session instead.
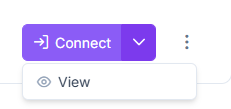
Note
A View session is read-only: you can watch the resource’s screen but cannot interact with it (no keyboard or mouse input). This is useful, for example, to supervise another user’s session, provide assistance, or check a video render without any risk of unwanted interaction.
Note
Composites do not offer this View dropdown: their control level (full control or view-only) is set per source when configuring the composite — see Configuring Sources.
Requesting Access to a Restricted Resource
Note
This workflow is different from the connection approval described above for Support-tagged devices, granted ad hoc by the device’s owner. See Manage Workstations to configure approvers on a resource.
If your organization has configured an approval workflow for a resource, its Connect button is replaced with Request Access. Organization administrators bypass this workflow and connect directly.
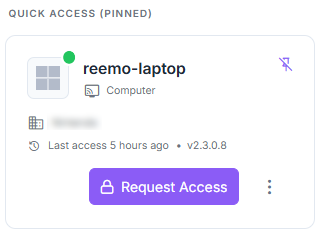
Request Access button.
Request Access opens a dialog with an optional Reason field.
Submitting your request puts the resource’s card into a Pending Approval state. Click the card to track your request status or cancel it — pending and answered requests also appear in the Notifications menu — see Notifications.
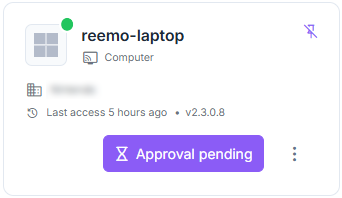
Pending Approval state on a resource card.
Once approved, a dialog allows you to connect immediately. If rejected, you will see a message with the approver’s reason, if provided. If no approver responds in time, the card shows Request expired.
See also
My Approvals — Review and act on the requests you are responsible for approving, if you are assigned as an approver on any resource.
Filtering and Sorting
If you manage a large inventory, use the tools located in the Filter Bar to quickly locate and organize specific resources.

Advanced Filters
You can combine multiple criteria to narrow down your search:
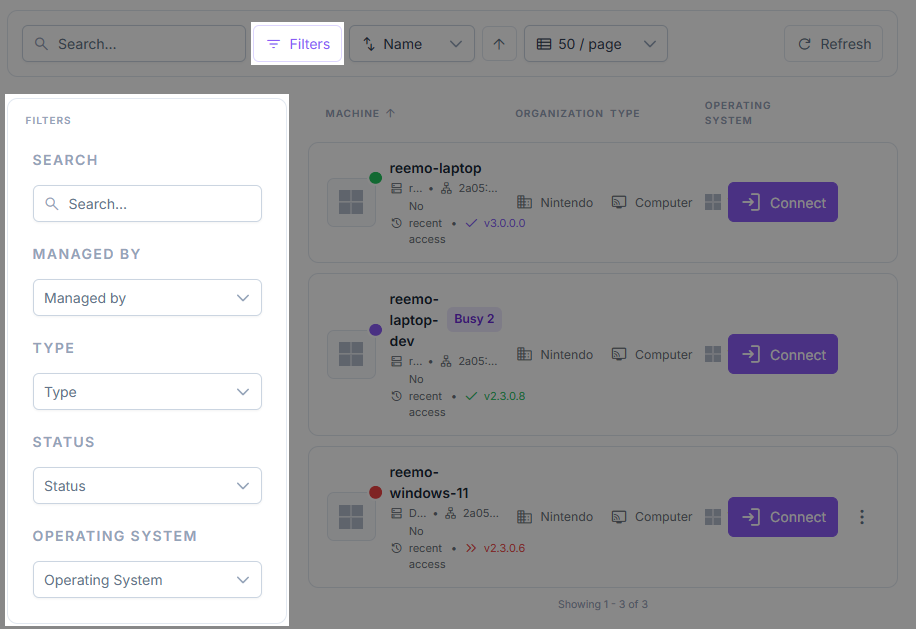
Note
Certain filters (such as Type, Group, or Collection) are dynamic: they only list the values actually present in your organization. For example, Containers or Workstations only appear under Type if your organization has resources of that kind.
Search Bar: Type all or part of a resource’s name, hostname, IP address (computers only), or organization to find it instantly.
Managed by: Filter your list by the specific organization managing the resources.
Type: Filter by resource type — Computers, Composites, Containers, or Workstations (a container provisioning a full OS).
Status: View resources based on their current availability (Online, Offline, Busy, or Partial).
Operating System: Filter your inventory by the underlying OS (Windows, Linux, macOS, or Docker).
Group: Isolate resources based on user groups.
Collection: Isolate resources belonging to a specific collection.
Clear Filters: Reset all active filters to return to the default, unfiltered view.
Tip
Combining filters is the fastest way to navigate complex environments. For example, you can filter by Status: Online and Operating System: Linux to instantly see all available Linux resources ready for connection.
Sorting
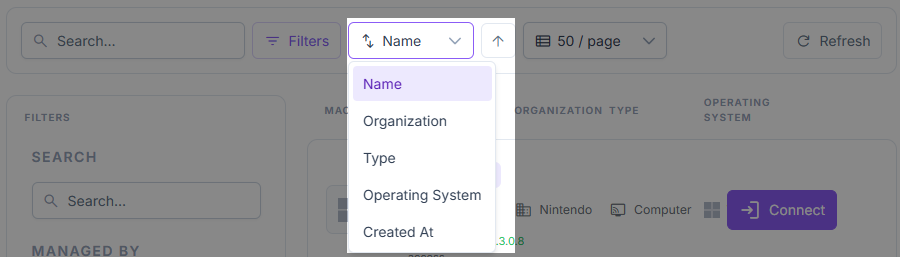
To better organize your view, you can sort your results by Name, Organization, Type, Operating System, or Created At.
Use the up/down arrow next to the sorting menu to reverse the display order.
Display Mode
Use the List / Grid toggle in the Filter Bar to switch how the Resource List is displayed. The three buttons next to the toggle set the icon size in either mode, making resources easier to identify at a glance — similar to Quick Access cards.
Your choices are saved to your account and applied the next time you sign in.
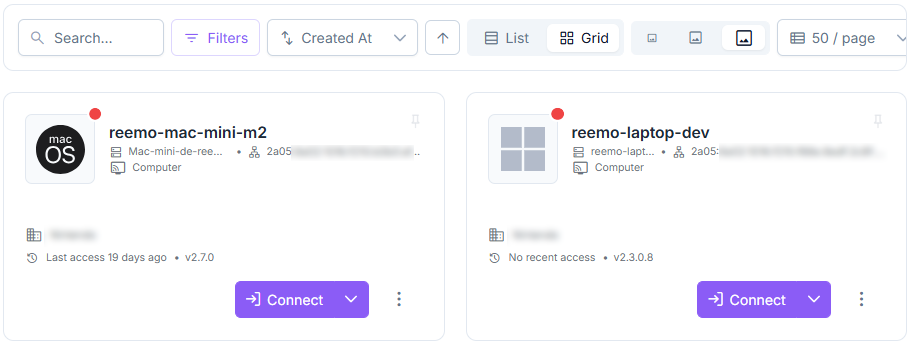
Resource List in Grid display mode, with the icon size set to maximum.